This blog post supports various appearances at festivals, shows, conferences and events showcasing The Paper Lab: surprising science with a piece of paper including:
Norwich Science Festival 2026, Northern Ireland Science Festival 2026, a family show at The Royal Institution of Great Britain in 2025, a Poster presentation at the IOP Science Communicators conference 2024 and also includes content presented at a session at the BIG STEM communicators event in 2024, The ASE Conference 2022 Primary Day, and for a STEM Learning Community TeachMeet in 2021. Find more inspiration, including a video guide, see below!
You need proper science kit to carry out meaningful science investigations.
No.
You don’t.
You really, really don’t.
The world around us provides astounding possibilities to discover the laws of physics, the properties of chemicals and the interconnectedness of nature.
You can encourage children’s curiosity, questioning, awe and wonder, and enquiry using basic resources. Very basic resources – like a piece of paper!
I’m going to take you through 25+ easy investigations using paper – there are many more, but here’s my top 25 (ish)!
I presented these ideas at the BIG STEM communicators event earlier this year and in a whistlestop STEM Learning Teachmeet – ironically named a slow motionTeachmeet on the STEM Community, as short presentations are being released over several weeks as opposed to the traditional, quickfire, squeeze-as-many-2-minute-slots-from-teachers-and-presenters-into-an-hour-as-possible, format. You can also watch the video here:
Given the brevity of the video and the speed of delivery, I thought it might also be useful to have an accompanying blog post to explain some of the investigations and activities in more detail and suggest where they might fit into the curriculum.
Light – and sight! (and a bit of Earth & Space!)
Shadow puppets
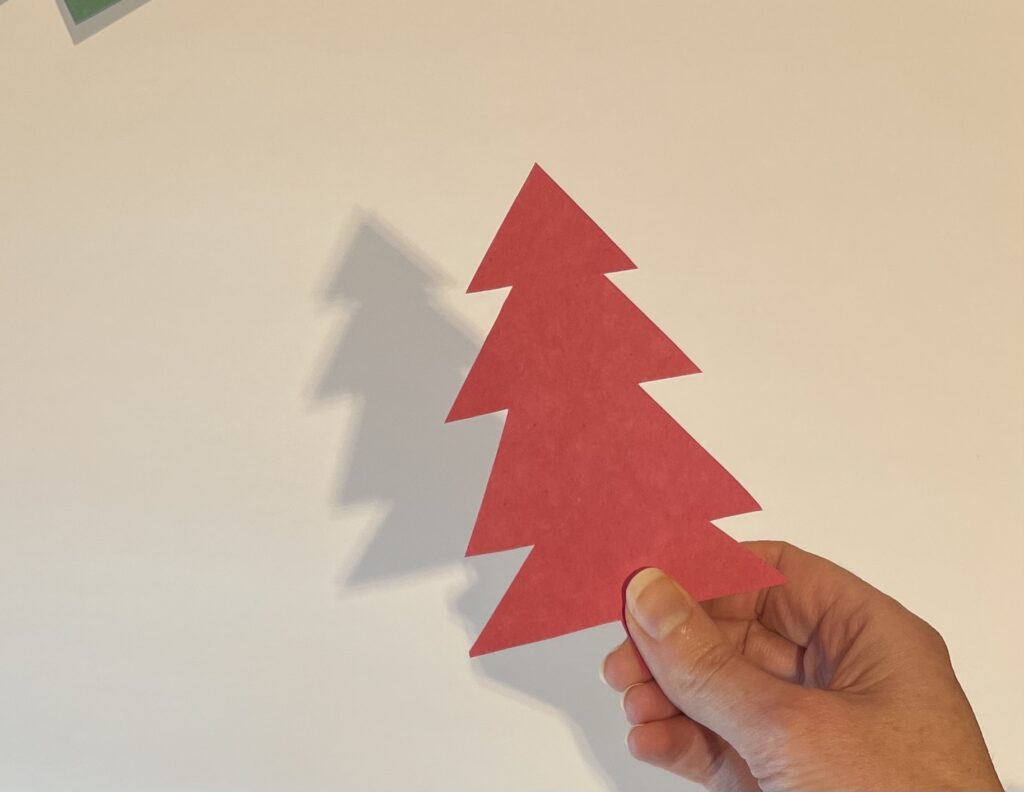
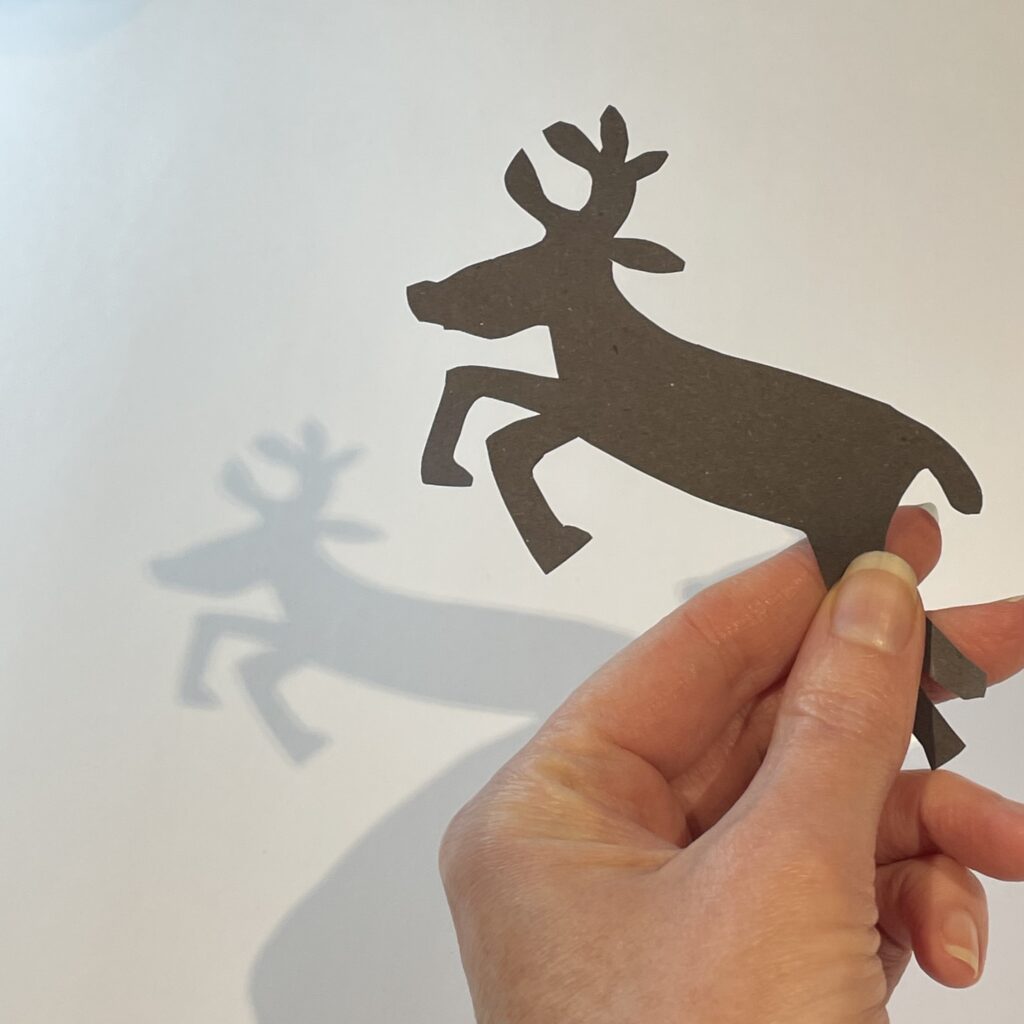
One of the simplest investigations. Simply cut paper into shapes (can be seasonally or topic themed) and investigate moving closer to, or further away from a light source. Observe that light travels in straight lines (it doesn’t bend around the piece of paper) and that darkness (or shadow) is an absence of light.

Shadow length
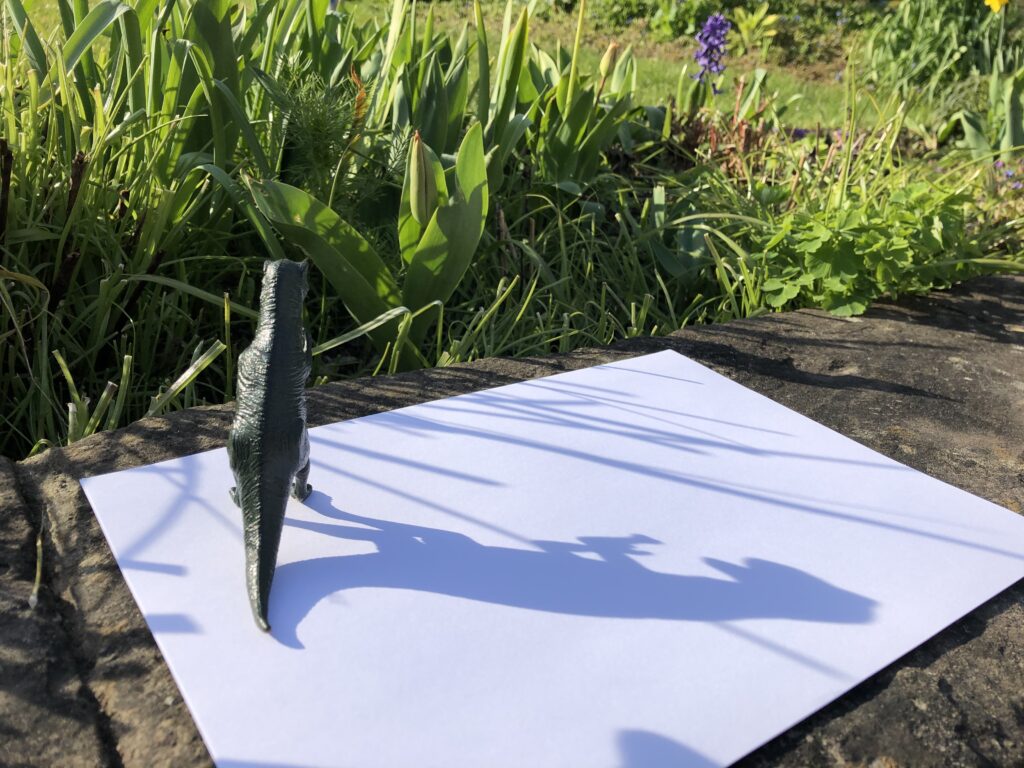
Shadows are created when an object (not just a piece of paper) blocks the light from a light source (eg. a lamp, a torch or the sun). Use a piece of paper and draw around a shadow at varying times of day (or times of year) and you can also observe the effect on shadow direction and length of the earth’s rotation and its rotation around the sun.
Pin hole camera
Further light investigations can be done with a pin hole camera – made from a paper tube, with paper screen to project onto and a paper end with a tiny pin hole to let in light. The image appears upside down, just as it is projected onto the retina at the back of the eye.
Star constellations
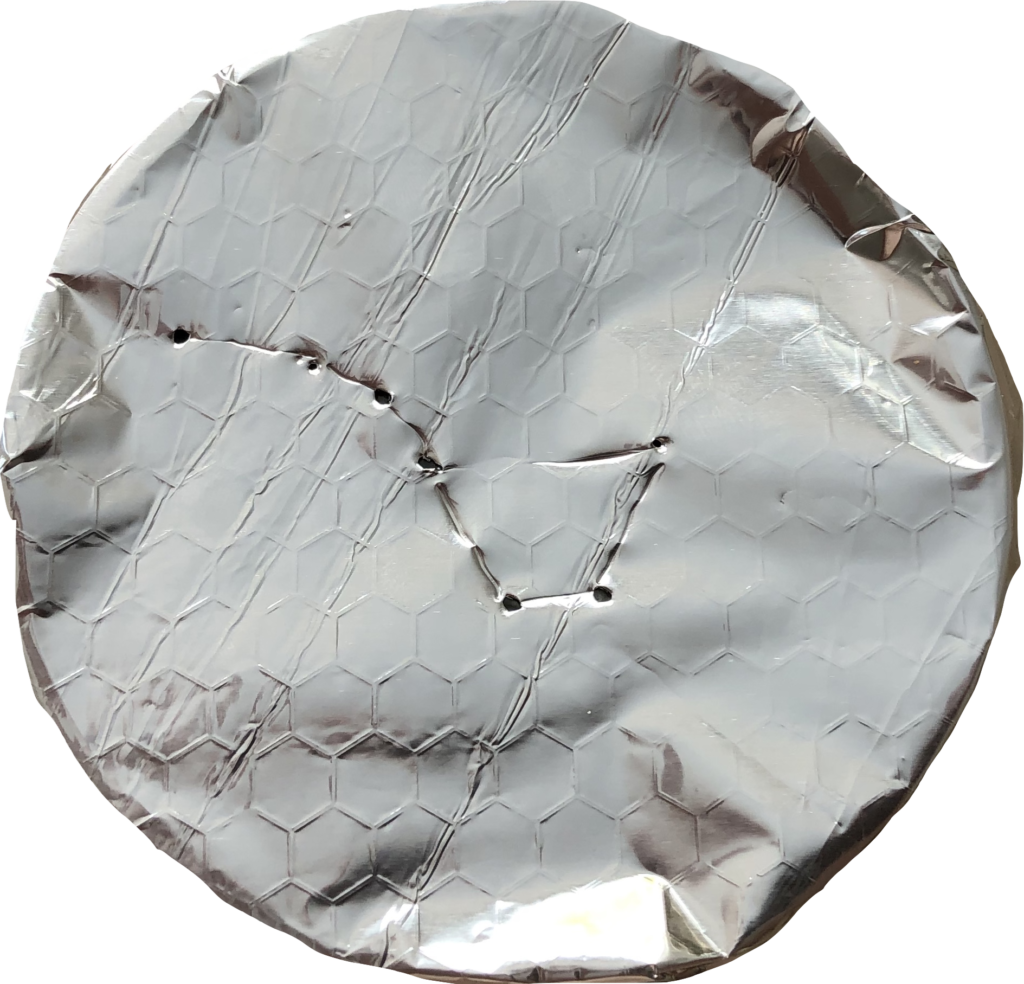
Combining light topics (year 3, year 6) with Earth & Space (year 5), use a piece of black paper (or aluminium foil), to mark out different star constellations and make tiny holes. Shine a torch through to project the pattern of the constellation.
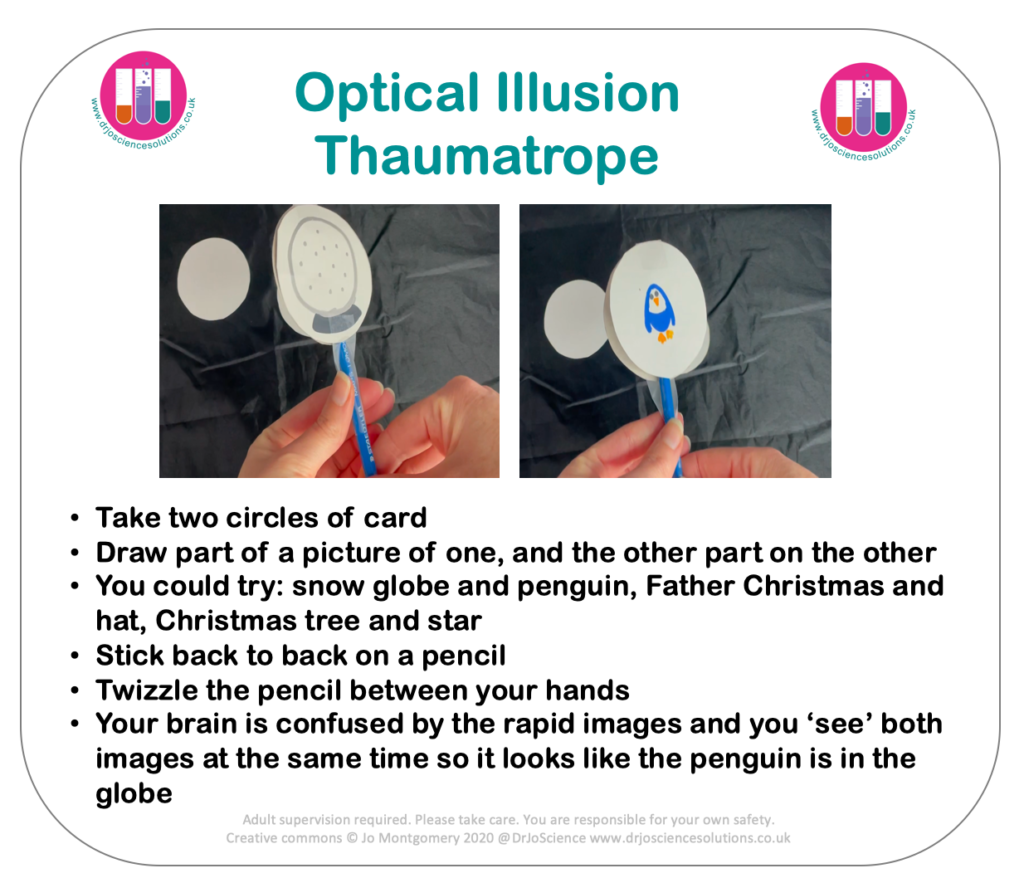
Optical illusions – thaumatrope
Here’s one to trick your brain. Information about what your eyes see is transmitted to the brain (specifically, to the occipital lobe at the back of your brain) via the optic nerve. When images are moving very quickly, this confuses the brain, which tries to make sense of them, and presents the quickly alternating still images as a moving image. This is also how cartoons and flip books work!
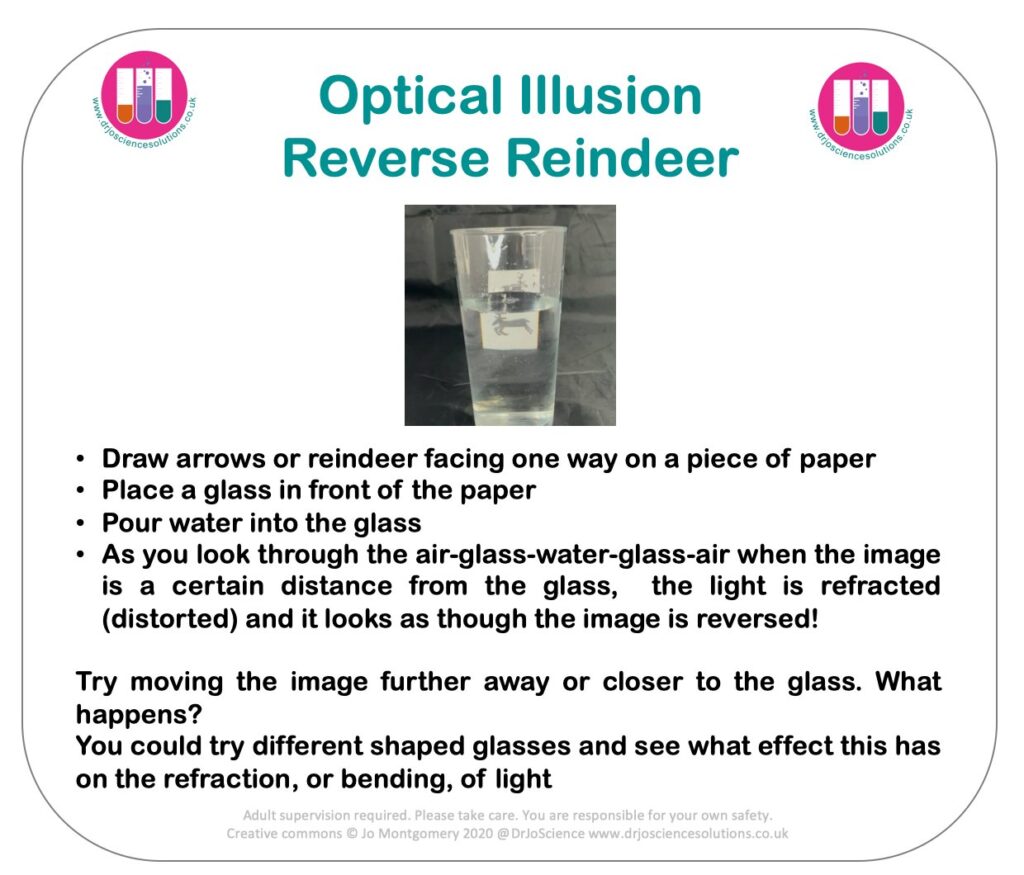
Optical illusions – refraction reverse
This one takes advantage of the laws of refraction – when light moves through more dense materials, it is bent; depending on how dense the material is (air, water, glass…), the less or more it will bend (or refract). As light travels from the image on a piece of paper behind the glass (arrows, reindeer, whatever directional object you wish) travels through the air, glass, air, it is bent slightly. When you fill the glass with water, this refracts the light further, making it appear that the image is in fact reversed!
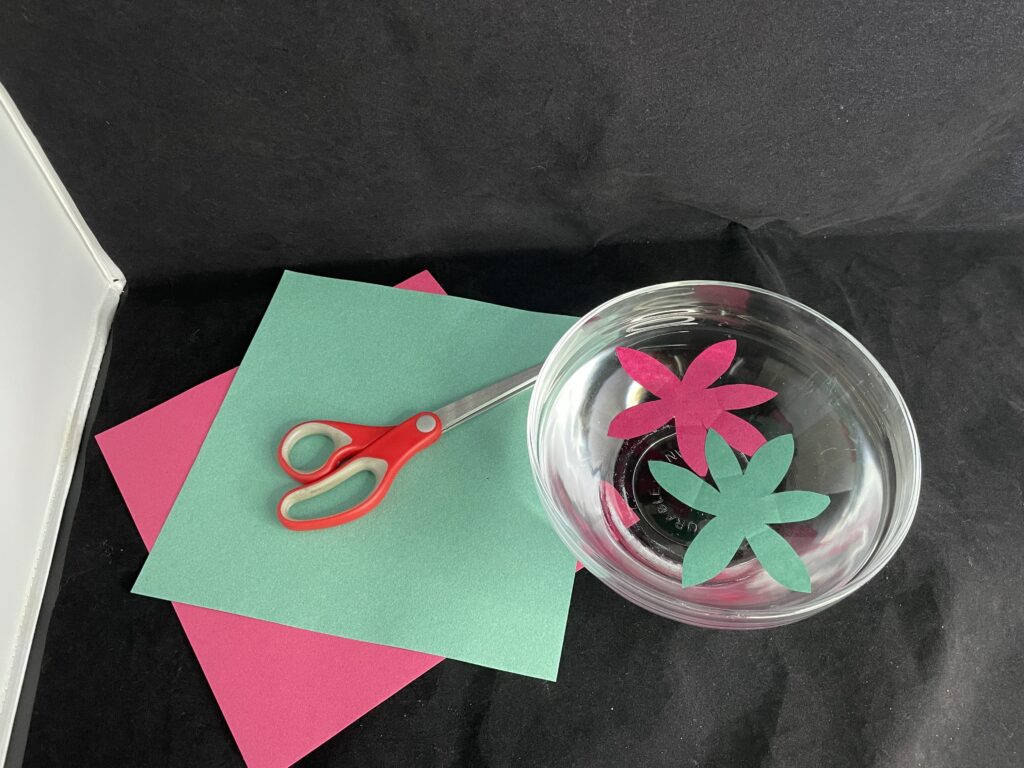
Plants and Properties of Materials – Capillary Action, Absorption and Separation
Capillary action – opening flowers
The phenomenon of absorption, or capillary action, takes advantage of the cohesion (sticking together) and adhesion (sticking to other things) of water molecules. The water molecules fill up the narrow spaces in the paper and move through the gaps in the paper fibres, just like they move up the xylem and phloem of plants and through a straw….
Capillary action – expanding caterpillars
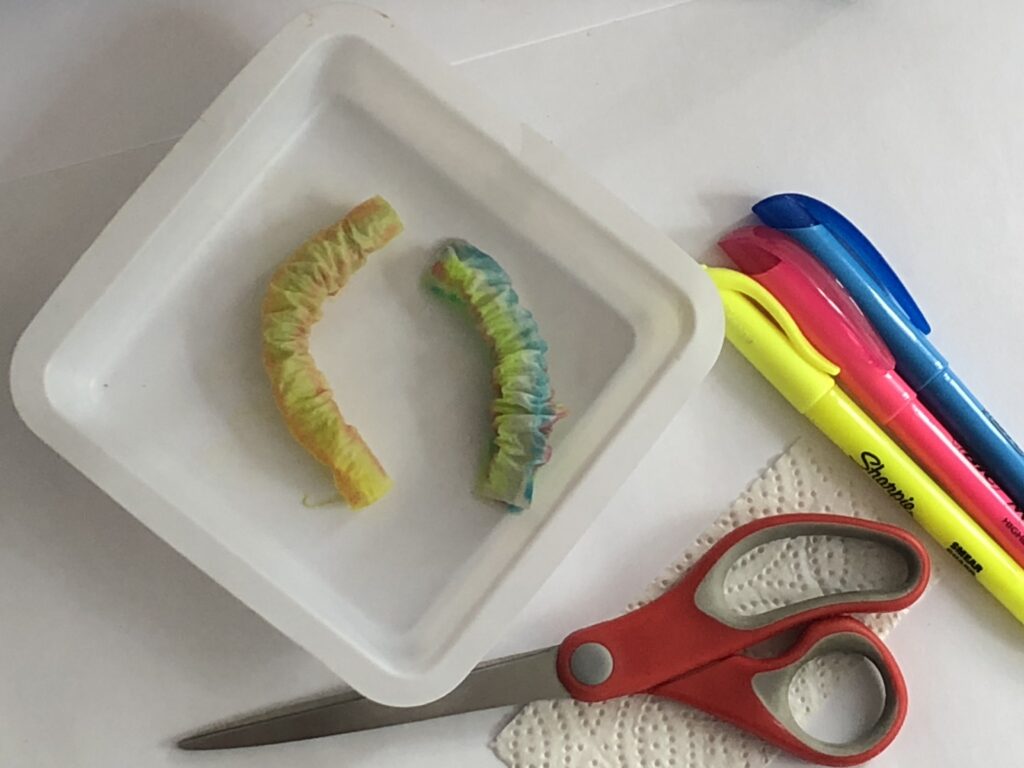
We can use the features of absorption and capillary action to cause paper towels to swell. You could carry out a simple comparative test between different brands to see which is able to absorb the most liquid – remember to make it a fair test and keep all other variables, such as volume and type of liquid, the same. It adds a bit of fun to create these paper towel caterpillars and observe what happens when they get wet!
Capillary action – walking rainbows
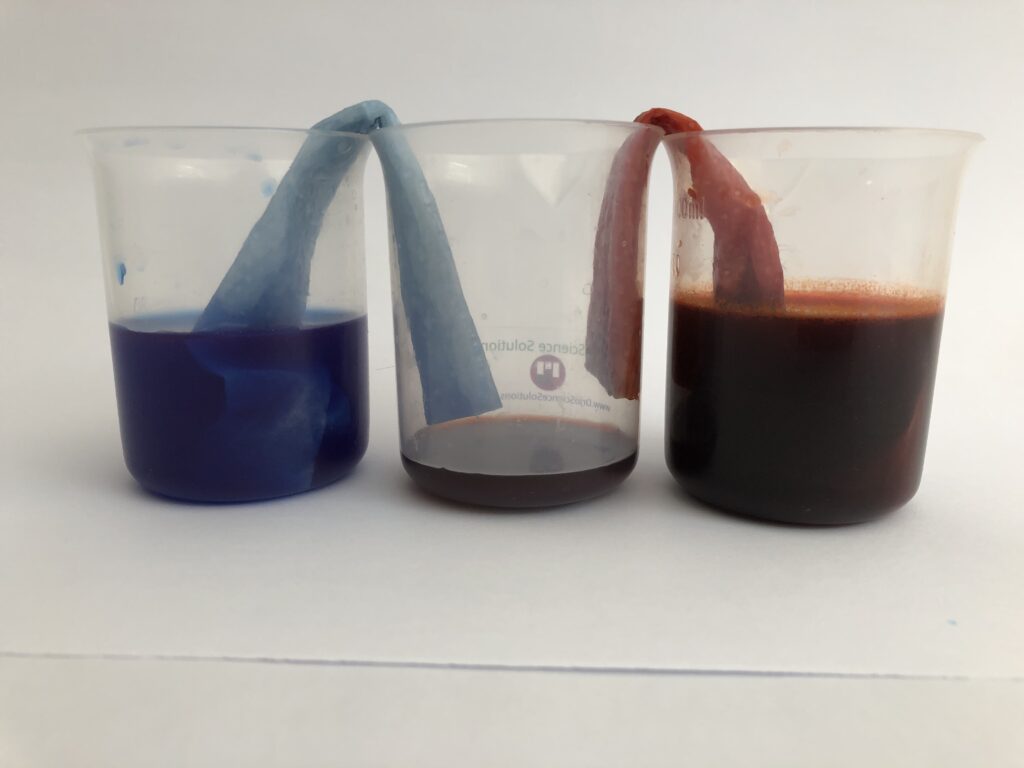
We can observe this capillary action – liquids absorbing into the solid paper towel, travelling through the narrow spaces and the forces of adhesion being stronger than the forces of cohesion so allow the liquid to overcome gravity and travel up the paper – in this walking rainbow. Water and food colouring travels from one container, up and over, and is released into a middle container when saturation and gravity mean the paper towel can hold no more. By bringing different primary colours together in this way, we can then observe colour mixing occurring where the two colours meet.
Chromatography – felt tip pens
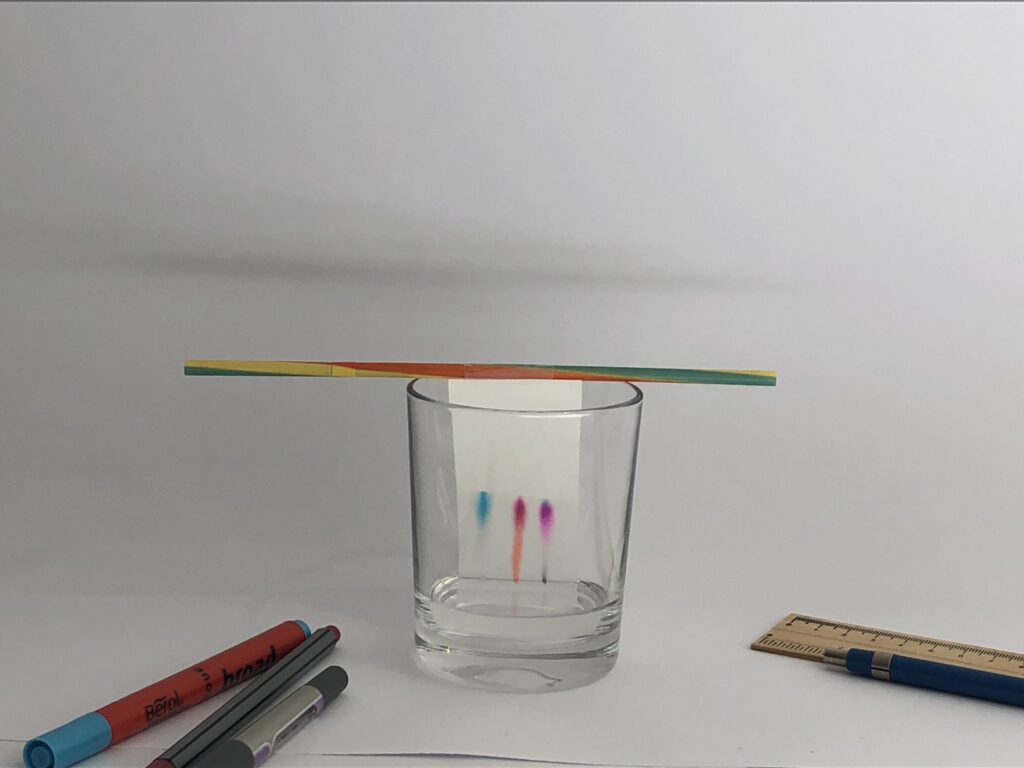
Chromatography is a laboratory technique for separating a mixture using a mobile phase. In this case, our mobile phase is water and the mixture we are separating is the ink in a felt tip pen. The paper acts as the solid, or stationary phase (stationary stationery lol!). It’s best to use an absorbent paper, such as filter paper, blotting paper or even paper towel. Place a small dot of colour near the bottom of a strip of paper. Dip the very end of the paper into water (don’t let the ink sit in the water directly). It can be helpful to draw a pencil line 1-2cm up from the bottom to help get the placement right. The paper can either be held or suspended in place while the water is absorbed into the paper and our friend capillary action draws the water up through the paper. As the water travels up the paper, it dissolves the ink (check what happens if you use a non-water-soluble permanent marker!) and the dissolved mixture is carried up through the narrow gaps in the paper. The colours in the ink separate out as they go. The simple way to explain this is due to the size of the molecules: smaller molecules travel more easily through the tiny gaps and thus further up the piece of paper, whereas larger molecules cannot move quite so easily through so travel more slowly and consequently less far. Real life applications of this thin-layer chromatography include testing water samples for pollution, identifying an unknown substance at a crime scene and testing medicines have the right amount in them.
Chromatography – plant pigments
Are leaves just green? In autumn the leaves change colour but can you find out if those colours are hiding under the green all year round? Using chromatography, we can separate a mixture of colours, or pigments in plant leaves. There are lots of complicated methods for extracting and testing this, but a really simple way to do this it wrap a leaf around a coin and rub it on a strip of paper (as with the felt tip pen chromatography above). This transfers some colour to the paper. These plant pigments are not water soluble, however, or they would wash away in the rain! A different solvent, or liquid phase is needed. Surgical spirit (rubbing alcohol), nail varnish remover, methylated spirits or a strong alcohol – such as vodka – will dissolve these pigments. This is perhaps more of a demo than a hands-on practical for children and do check with CLEAPSS before using solvents in school.
You can find out more about plant pigments in this blog post .
Chromatography – sweets
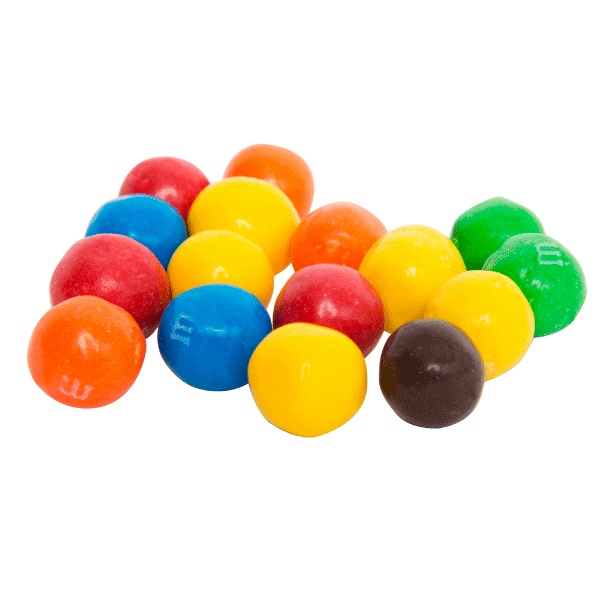
Always a winner with children of any age, and a natural extension from the classic skittles rainbow. I recommend using the American brand brightly coloured candy coated chocolate (without the peanuts!) with the M on them as the artificial colours produce a great result. The more familiar, flatter ones in the UK that come in a tube and begin with an S have natural colours and don’t work nearly so well! The brown sweets create the best separation of an array of colours and some of the secondary colours don’t actually separate!
You can get the sweets wet and rub a bit of the liquid colour onto a strip of paper and allow to dry before following the felt tip pen chromatography technique above, or place a sweet in the centre of a filter paper suspended over a cup and drip a little water on – take care not to get it too wet, the bottom of the sweet should just be sitting in a tiny puddle of water to dissolve the colour. Watch and wait as the colour separates out in an arc.
Give it a try and see which ones work best.
Chromatography – crime scene
An application and context for the felt tip pen chromatography above, create a note at an imaginary crime scene and try to match the pen that wrote it to a selection from suspects! I use all black pens (as these separate out into a range of colours) from different makes.

Static electricity – floating ghosts
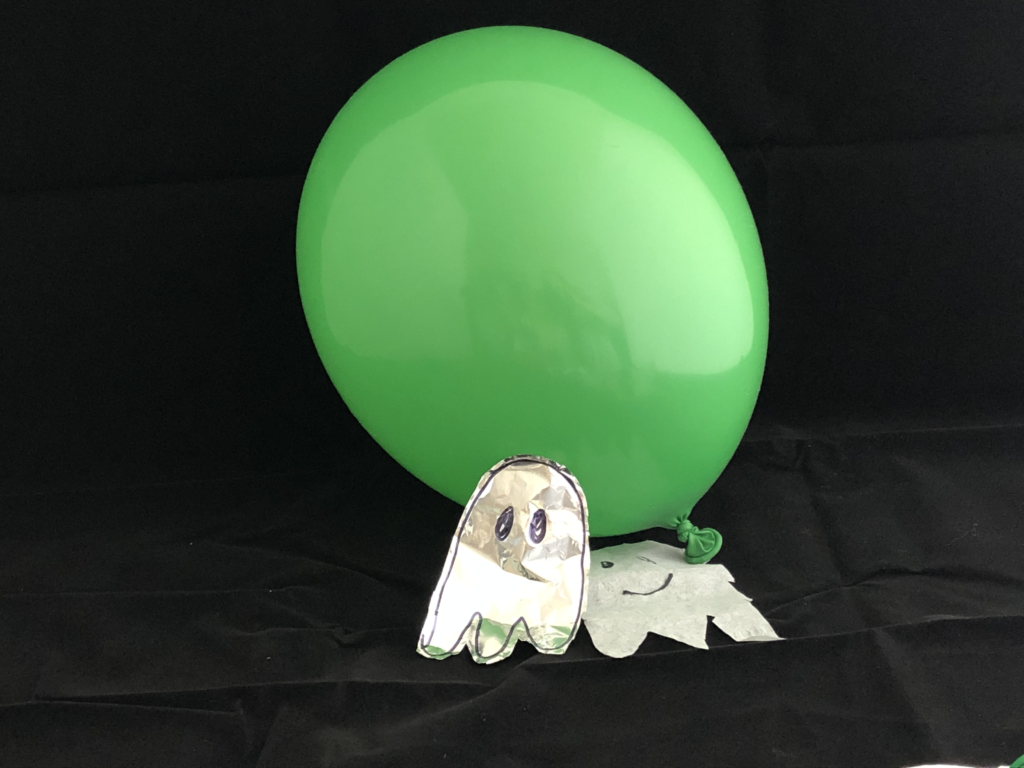
Whilst the science in this is more about what happens to the balloon than the paper, it’s a still a fun one to do to explore forces and charges. All matter is made of atoms; atoms have a positive charge in the nucleus and a negative charge circulating them in the form of electrons. When two surfaces are rubbed together, the electrons from one material move to the other, creating a static charge. Unlike charges are attracted to each other, so the static charge on the balloon attracts the paper, making it appear as though the ghosts are floating or flying. If you bring two rubbed balloons close to each other, they have the same negative charge as each other and will in fact push each other away as like charges repel!
STEM – walking horse
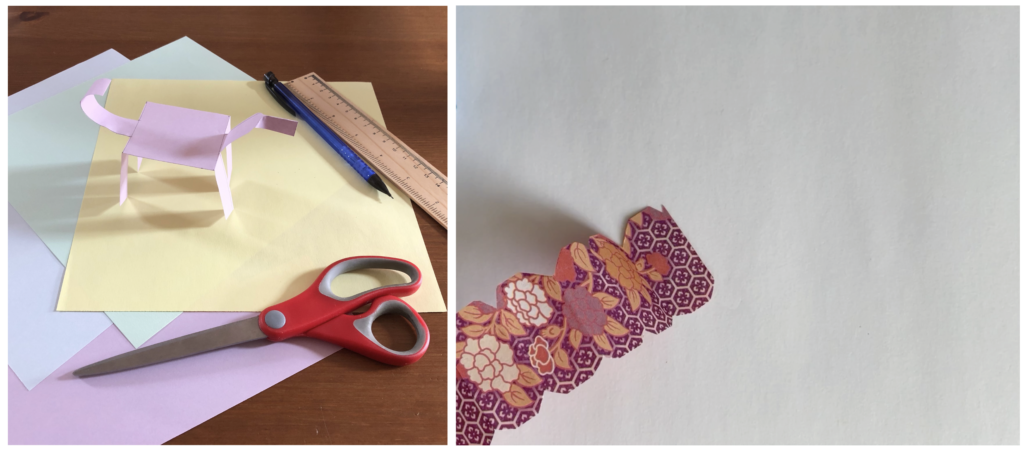
Get the proportions (and crease folds) just right on this and the centre of gravity causes the paper horse (or reindeer!) to gently walk down a slope. An exercise in perseverance!
STEM – crawling caterpillar
A slightly easier one involving concertina folding a strip of paper (with optional caterpillar face decorating – just don’t make it look too much like Colin!), then using a blowing/sucking motion with a straw you can control where and when the force of air interacts with the paper – not one to do in classrooms until covid restrictions have lifted.
Living Things and Their Habitats
Camouflage (and adaptations)
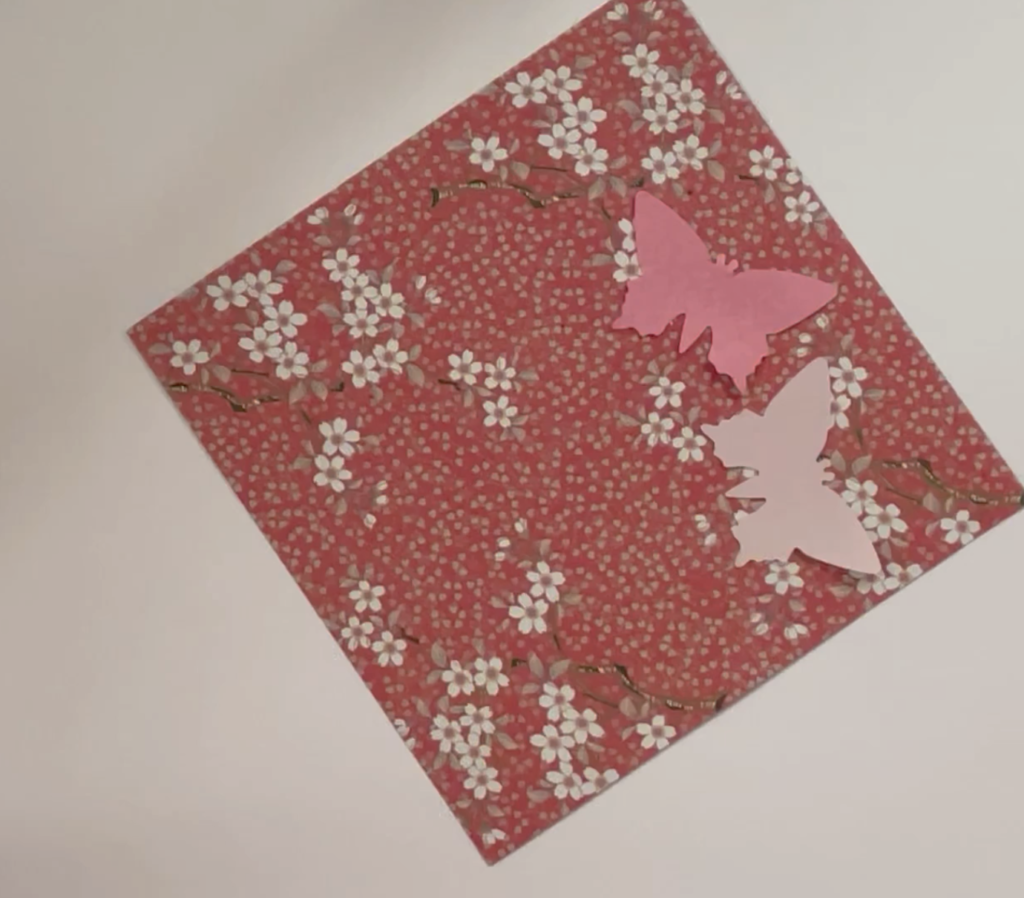
A simple look at camouflage and how some animals are adapted to their environment. Take a piece of patterned paper (or use any patterned surface, including natural outdoor ones!) and try to create the best pattern and colours to disguise an animal on that background – you can cut out any animal shape – moth, caterpillar, lizard etc.
Forces and Properties
Forces, mass and strength
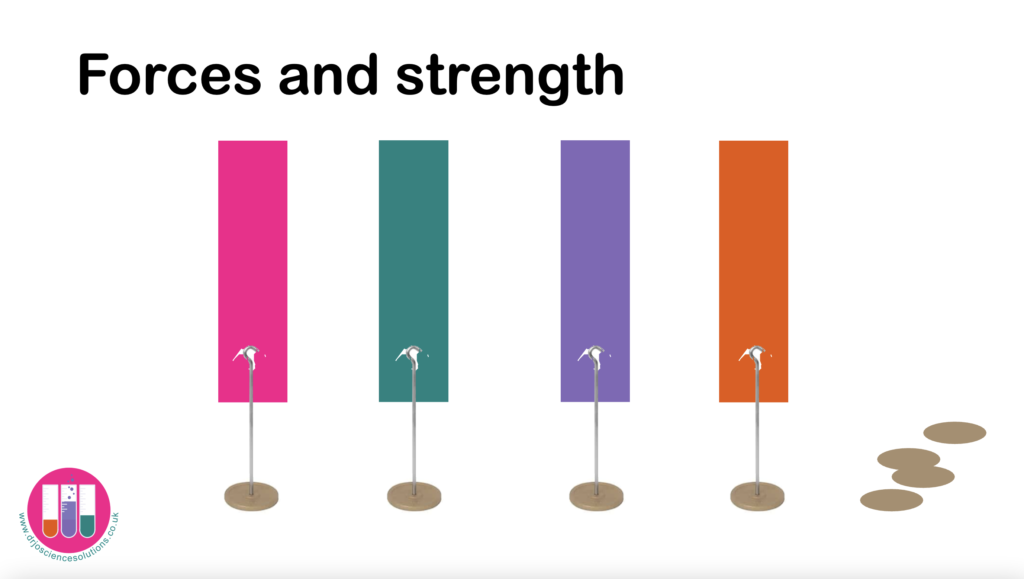
Explore the different properties of different types of paper, for example: printer paper, newspaper, sugar paper, tissue paper etc., and see how much mass each will hold without breaking. Remember to keep all other variables consistent to ensure this comparative test is fair.
Shapes and folding
Does the shape change the strength of a piece of paper? If you fold it into a cylinder, cuboid or triangular prism, does this affect how much weight it can hold?
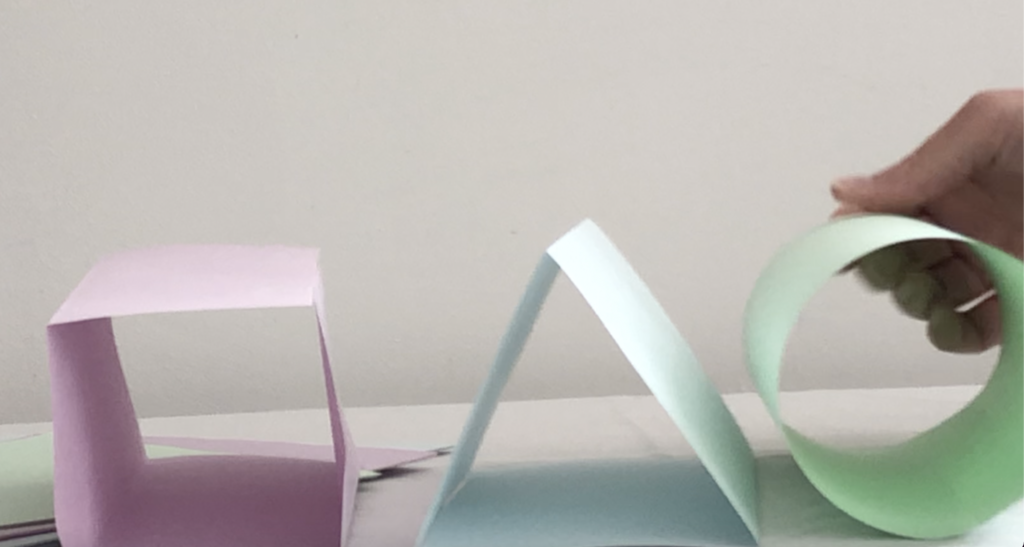
Paper bridges
Continue an exploration of the strength of different shapes by applying this to bridge design. Can you make the strongest bridge using only paper? Test by using coins, counters, small weights or lego blocks.
Paper planes
More paper folding to explore aerodynamics. What makes the best paper plane? Do you need wide or narrow wings? What about the nose?
Ring gliders
I’m always amazed at how well these fly! You simply need a straw (or rolled paper tube) and then two strips of paper – one longer than the other to create loops or rings.
Straw rockets
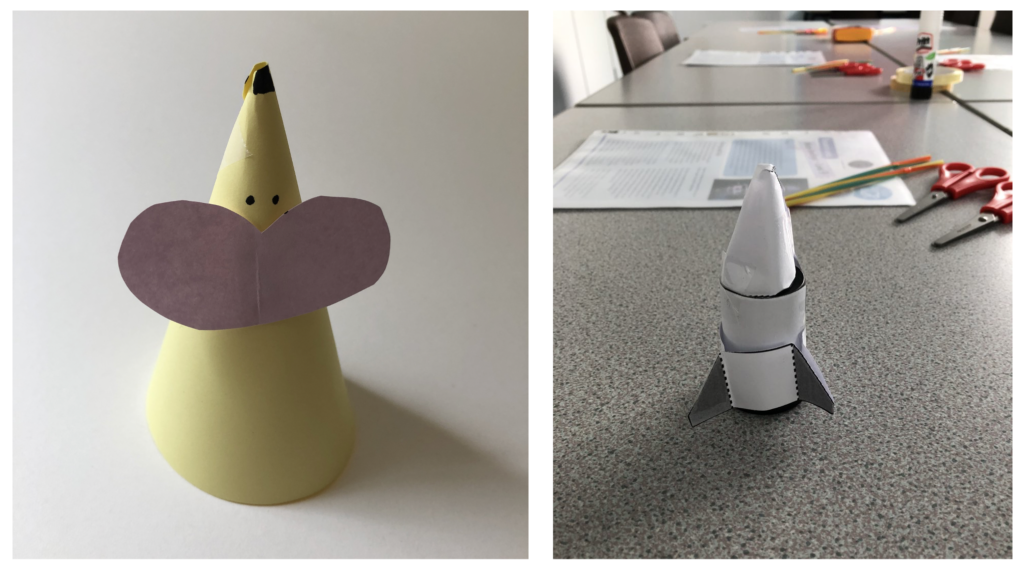
Another great competitive activity to explore the effect of adding fins and nose cones. Wrap a strip of paper loosely around a pen or stick, secure with a little tape and slide off. Pinch the end to make a sealed nose cone, add fins for stability and launch by blowing through a straw – once covid restrictions have eased!
Paper spinners, seed dispersal
Investigate that aerodynamic knowledge of air pressure and lift by making paper spinners of different sizes to investigate how fast or slow they fall. Use a paper clip or blob of sticky tack to represent the seed in the wind dispersed seed helicopters such as ash or maple keys (keep this constant to keep it fair!) and explore what happens with longer or shorter or thinner or wider wings. Use a stop watch to time the descent!

Rocket mice (and Effervescent rockets)
Another way to explore aerodynamics, propulsion and flight. I often use the rocket mice (or Santa!) as an alternative or follow on to straw rockets. Simply make a cone out of paper and sit on top of a clean, empty plastic bottle. Plastic milk bottle work best. Squeeze the bottle suddenly to cause the displaced air to propel the mouse into the air. You could investigate different sizes, or add fins and see if this changes the distance it travels. An alternative propulsion method can be achieved by a building up of air pressure due to an effervescent chemical reaction – either using a fizzy tablet (I use fizzy vitamin tablets, please don’t use alka seltzer, it doesn’t promote safe use of medicines), or simply the reaction between bicarbonate of soda and vinegar. The carbon dioxide builds up inside the sealed film canister and launches the rocket into the air. Definitely launch these outside and stand well back!
Surprising science with a piece of paper
Here are a couple of extras which were included in my Ri family show:
- Fold and cut theorem – see Katie Steckles for more info
- Can you cut a hole in a piece of paper and poke her head through it?
More Ideas
I am a big fan of using everyday resources to investigate scientific concepts, and not just bits of paper! You can find more ideas in this kitchen science blog post, as well as 150+ science activities.
If you’ve enjoyed these activities, and would like to, feel free to buy me a coffee to say thanks! (although, if you know me, you’ll know that I prefer tea!)
Please ensure you assess any health and safety risks these activities may involve. You are responsible for your and your children’s safety.
You will also find me on BlueSky, X/Twitter, Instagram, Threads and Facebook @DrJoScience and you can find out more on my website at www.drjosciencesolutions.co.uk or email me at drjo@drjosciencesolutions.co.uk